
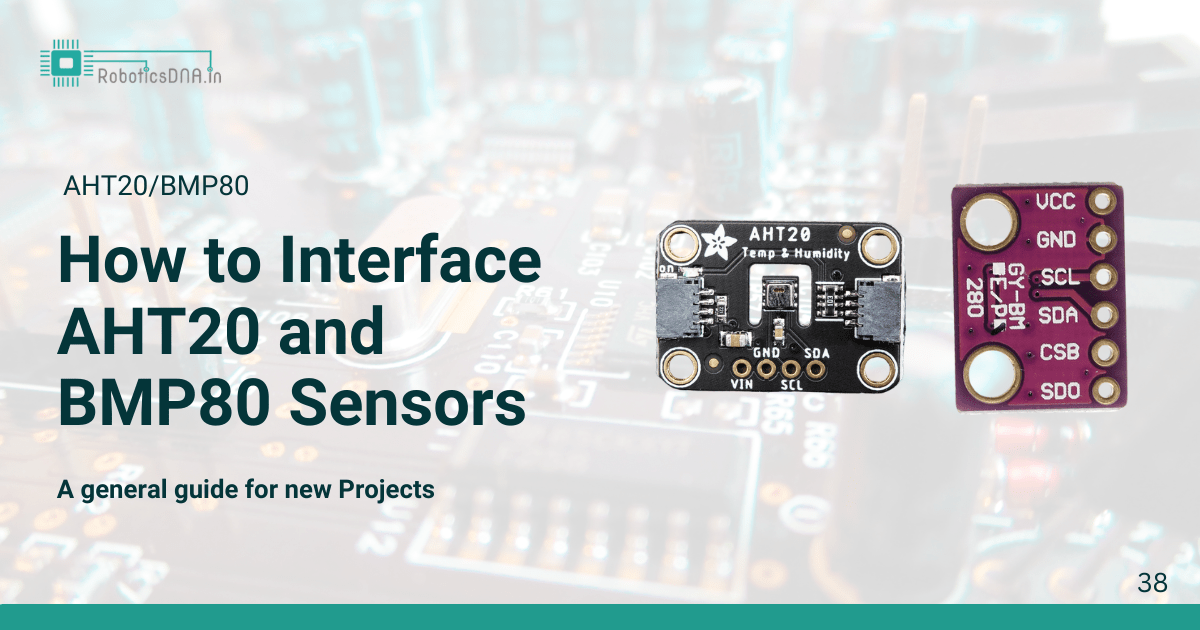
How to Interface AHT20 and BMP80 Sensors
The AHT20 is a digital temperature and humidity sensor that uses I2C communication to provide accurate readings of temperature and humidity.
The BMP80, BMP180 and BMP280 are barometers (pressure sensors) that also measure temperature. These sensors communicate using I2C or SPI protocols.
Key features of AHT20:
Temperature Measurement: Range: -40°C to +85°C
Humidity Measurement: Range: 0% to 100% Relative
Communication Interface: I2C: Uses I2C communication for data exchange, making it easy to interface with microcontrollers like Arduino, Raspberry Pi.
Low Power Consumption: it requires less power to detecting the temperature, humidity, pressure.
Fast Response Time: Quick readings of temperature and humidity
Compact Size: Small and lightweight, easy to integrate into various projects.
Operating Voltage: Typically operates between 2.1V and 3.6V, making it suitable for low-voltage projects.
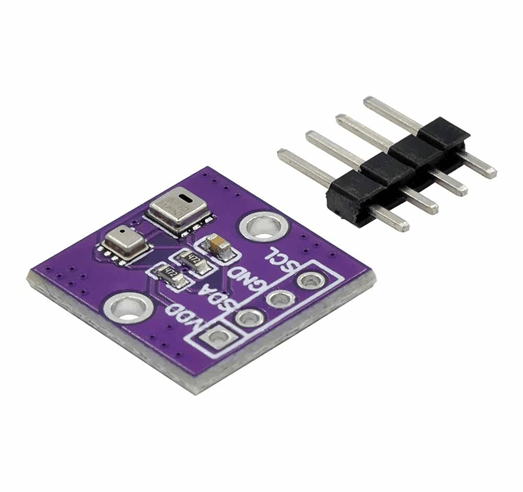
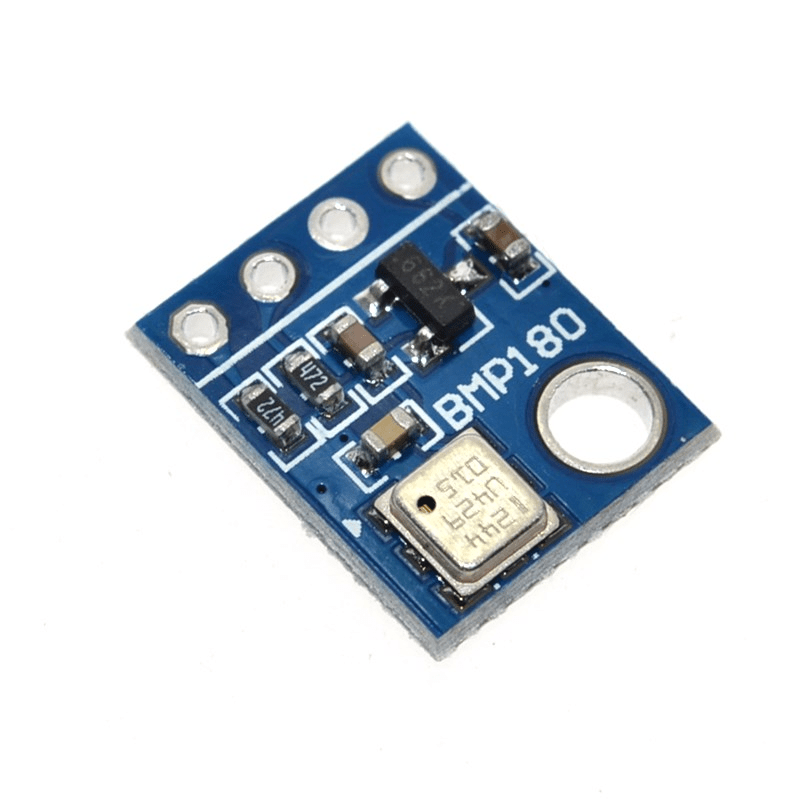
Key features of BMP180:
Pressure Measurement: Range: 300 to 1100 hPa
Temperature Measurement: Range: -40°C to +85°C
Communication Interface: I2C
and SPI communication, allowing easy integration with microcontrollers such as Arduino, Raspberry Pi
Low Power Consumption: It requires less amount of power.
Compact Size: The sensor is small and lightweight, making it ideal for embedded systems or portable devices.
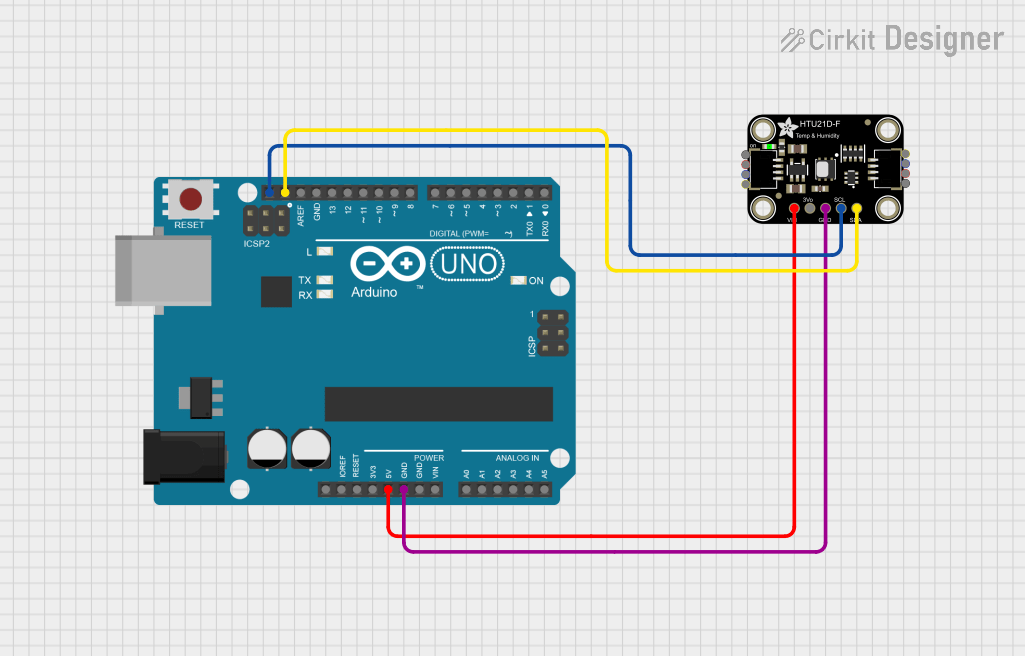
How to interface AHT20 and BMP80 to Arduino:
Components Needed:
- Arduino Uno
- AHT20 sensor
- BMP180 sensor
- Jumper wires
- Breadboard
AHT20 Connections:
- VCC → 5V 3.3V
- GND → GND
- SDA → A4
- SCL → A5
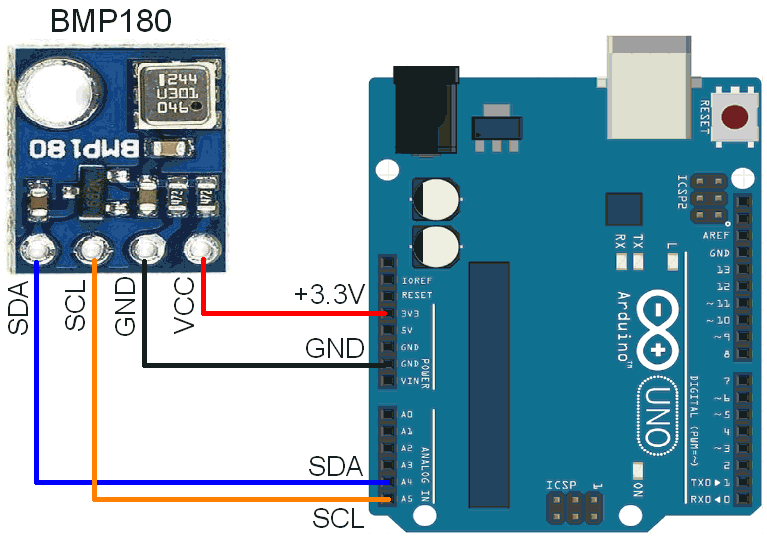
BMP180 Connections:
- VCC → 5V
- GND → GND
- SDA → A4
- SCL → A5
Install required libraries:
AHT20 Library: For reading data from the AHT20 sensor, you can use the Adafruit_AHTX0 library.
BMP180 Library: For the BMP180 sensor, you can use the Adafruit_BMP085 Unified library.
Upload Code to Arduino and Test
Application:
Weather Stations
Home Automation
Indoor Climate Monitoring
Consumer Electronics
Application of BMP180:
Weather Stations
Altitude Measurement
IoT and Wearable
Robotics and Drones
Barometric Pressure Monitoring
Interfacing AHT20 with Arduino uno:
Interfacing BMP180 with Arduino Uno:
Program
#include <Wire.h>
#include <Adafruit_Sensor.h>
#include <Adafruit_BMP280.h>

// Create a BMP280 object
Adafruit_BMP280 bmp;

void setup() {
  Serial.begin(9600);
  while (!Serial); // Wait for serial port to connect

  // Initialize BMP280 using I2C
  if (!bmp.begin(0x76)) { // Try 0x76 or 0x77 depending on your module
    Serial.println("Could not find a valid BMP280 sensor, check wiring!");
    while (1);
  }

  // Optional: Configure sensor settings
  bmp.setSampling(Adafruit_BMP280::MODE_NORMAL,
                  Adafruit_BMP280::SAMPLING_X2,  // temperature
                  Adafruit_BMP280::SAMPLING_X16, // pressure
                  Adafruit_BMP280::FILTER_X16,
                  Adafruit_BMP280::STANDBY_MS_500);
}

void loop() {
  Serial.print("Temperature = ");
  Serial.print(bmp.readTemperature());
  Serial.println(" °C");

  Serial.print("Pressure = ");
  Serial.print(bmp.readPressure() / 100.0F); // Convert to hPa
  Serial.println(" hPa");

  delay(2000);
}